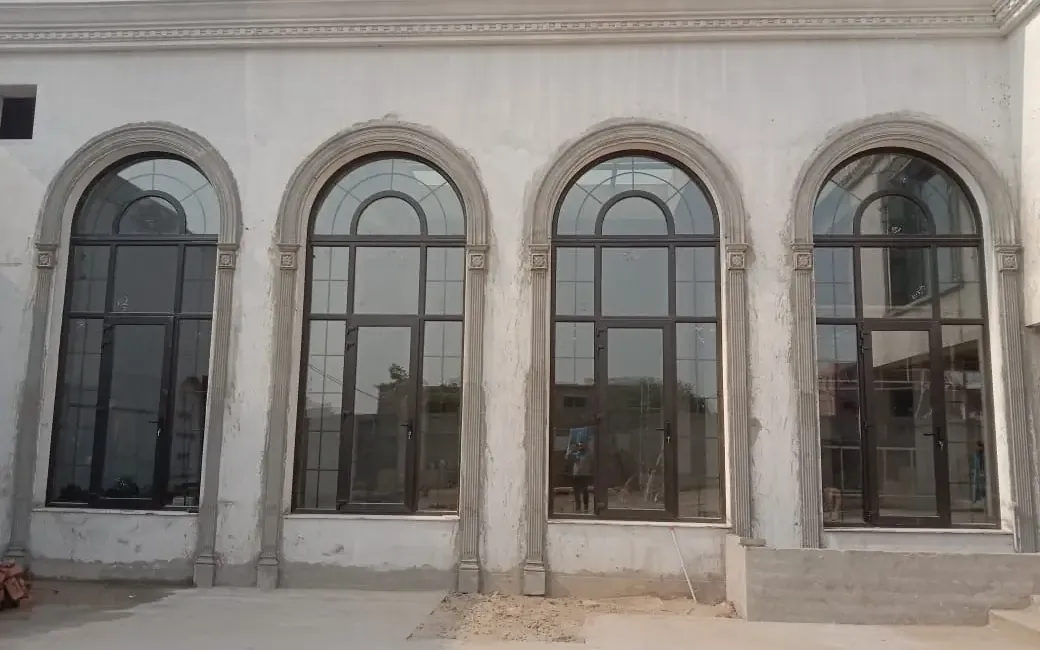
Our uPVC Windows Installation Process – A Step-by-Step Look

Even the highest-quality uPVC profiles (whether German, Turkish, or premium local) will fail to soundproof or insulate your home if the installation is rushed. In Pakistan’s extreme climate—where windows must withstand blistering summer heat, heavy monsoon downpours, and intense urban dust—a precise installation process is critical.
A professional, step-by-step look at how uPVC windows are correctly installed in Pakistani homes follows below.
Step 1: Accurate Laser Site Surveying
Before a single piece of uPVC is cut, the technical team visits the site.
- The Process: Fabricators use digital laser meters and spirit levels to check the raw window openings (gula). In Pakistani construction, brickwork or concrete openings are rarely perfectly square.
- Why it Matters: The window frame must be manufactured roughly 5mm to 10mm smaller than the actual opening. This creates an expansion gap, allowing the uPVC frame to expand and contract naturally during intense June heatwaves without warping.
Step 2: Factory Fabrication & Delivery
Once dimensions are locked, the windows are custom-manufactured in a controlled factory environment.
- The Process: The multi-chambered uPVC profiles are cut, and galvanized steel reinforcement cores are slid inside and screwed into place. The corners are then fusion-welded using heavy heat machinery to make the frame a single, unbroken piece.
- On-Site Arrival: The frames are delivered to the site wrapped in thick protective film to shield them from ongoing cement or paint work.
Step 3: Aperture Preparation & Levelling
On installation day, the raw opening is thoroughly prepared.
- The Process: The masonry opening is cleared of all dust, loose cement plaster, and debris. The unglazed uPVC outer frame is then positioned into the opening.
- The Alignment: Installers use plastic shims (packers) and a plumb bob or spirit level to ensure the frame is completely vertical and horizontally level. If the frame is even slightly tilted, sliding windows will jam, and casement windows will drift open on their own.
Step 4: Anchoring the Frame (Mechanical Fixing)
With the frame perfectly leveled, it is permanently secured to the building’s concrete or brick structure.
- The Process: Installers drill directly through the uPVC profile and steel core into the wall. Heavy-duty, weather-resistant anchor bolts or masonry fasteners are inserted.
- The Standard: Fixings are spaced roughly 600mm apart, with anchors placed no more than 150mm away from every corner. This solid anchoring ensures the window can withstand violent monsoon wind loads without rattling.
Step 5: Weatherproofing & Double-Sealing (The Most Critical Step)
This is where the magic of soundproofing and dust-proofing happens.
- First Layer (Expanding Foam): The 5-10mm gap between the uPVC frame and the wall is injected with premium polyurethane expanding foam. This foam expands to fill every micro-cavity, acting as a powerful acoustic and thermal barrier.
- Second Layer (Silicone Sealant): Once the foam cures and the excess is trimmed, a thick, smooth bead of high-grade, non-cracking weather silicone is applied to both the interior and exterior borders. This creates a 100% airtight and waterproof seal against rain and fine dust.
Step 6: Glazing (Installing the Glass & Beads)
With the outer frame securely anchored and sealed, the heavy glass units are brought in.
- The Process: For double-glazed windows, special “toe-and-heeling” plastic packers are placed inside the frame to support the weight of the glass. The glass unit is carefully dropped in.
- Locking it in: uPVC glazing beads are firmly tapped into the frame using a specialized rubber mallet. These beads lock the glass tight against the internal EPDM rubber gaskets.
Step 7: Hardware Fitting, Functionality Testing & Cleanup
The final stage brings the window to life.
- The Process: Handles, multi-point security locks, friction stays, rollers, and aluminum fly-screens (mosquito nets) are installed and calibrated.
- The Quality Check: The installation team tests the windows multiple times to ensure smooth operation, flawless locking, and perfect compression against the rubber seals. Finally, the protective plastic film is peeled away, leaving a clean, high-performance window.
💡 Construction Timeline Tip for Pakistan
If you are building a new house, install your uPVC windows after the internal/external plastering is fully dry, but before the final coats of paint. This prevents the delicate rubber gaskets and mechanisms from getting choked with wet cement splatter, while allowing the painters to perfectly blend the wall paint right up to the silicone edge.
Get a free site measurement and quotation from Window Concept.